

Steps to Enable Permissions in the "Munily" App
Here, we’ll walk you through the steps needed to enable permissions in the “Munily” app and ensure it works properly.
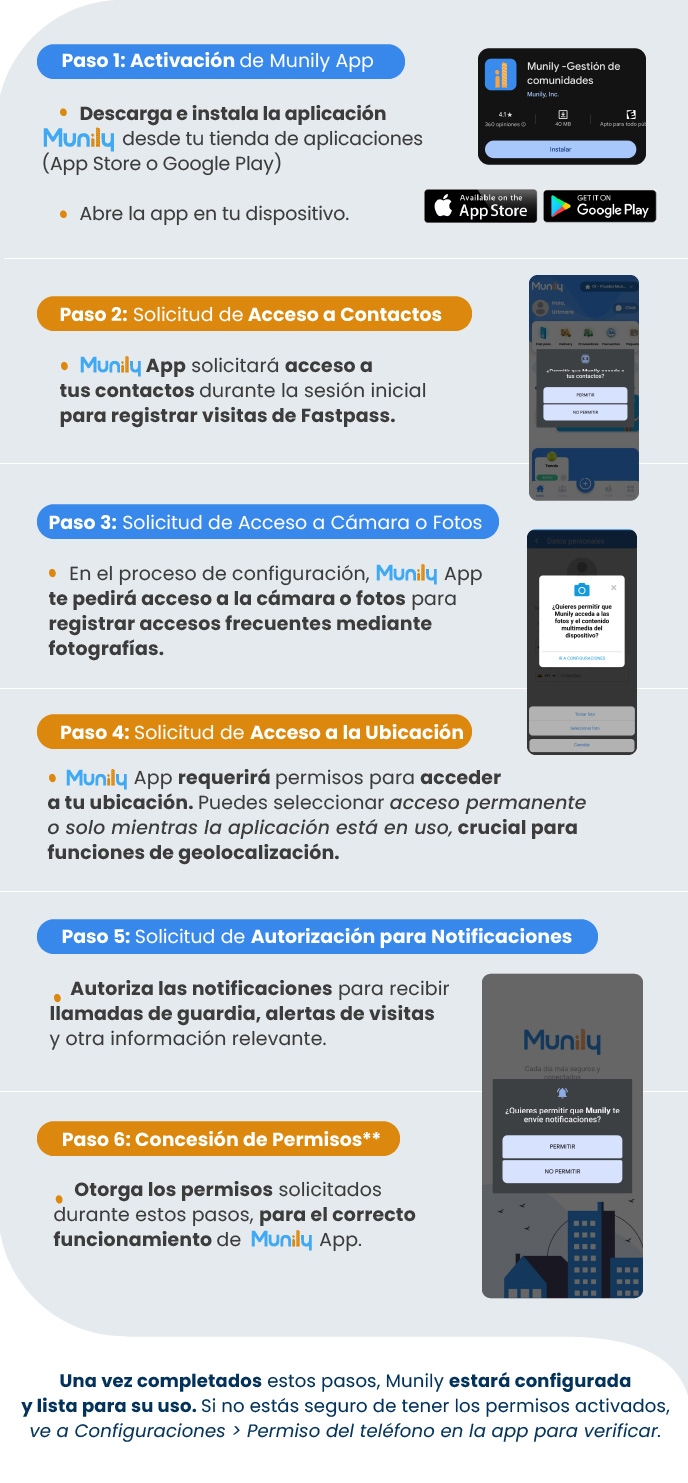
Step 1: Activating the “Munily” App
- Download and install the “Munily” app from your app store (App Store or Google Play).
- Open the app on your device.
Step 2: Requesting Access to Contacts
- The "Munily" app will request access to your contacts during the initial setup to track Fastpass visitors.
Step 3: Request for Camera or Photos Access
- During setup, the “Munily” app will ask for access to your camera or photos to record frequent access passes using photos.
Step 4: Request for Location Access
- The "Munily" app will require permission to access your location. You can choose between permanent access or access only while the app is in use, which is crucial for geolocation features.
Step 5: Notification Permission Request
- Authorize notifications to receive security guard alerts, visitor alerts, and other relevant information.
Step 6: Granting Permissions
- Grant the permissions requested during these steps to ensure the proper functioning of the Munily App.
Once these steps are complete, Munily will be set up and ready to use. If you’re not sure whether the permissions are enabled, go to Configuraciones (Settings) > Phone Permissions in the app to verify.
Guide images
Still need help? Reach us on WhatsApp or at soporte@munily.com.
Con Amor 💙 Munily